CLICK HERE FOR FREE BLOGGER TEMPLATES, LINK BUTTONS AND MORE! »

Thursday, September 16, 2010

Crayola Dry Erase Poster

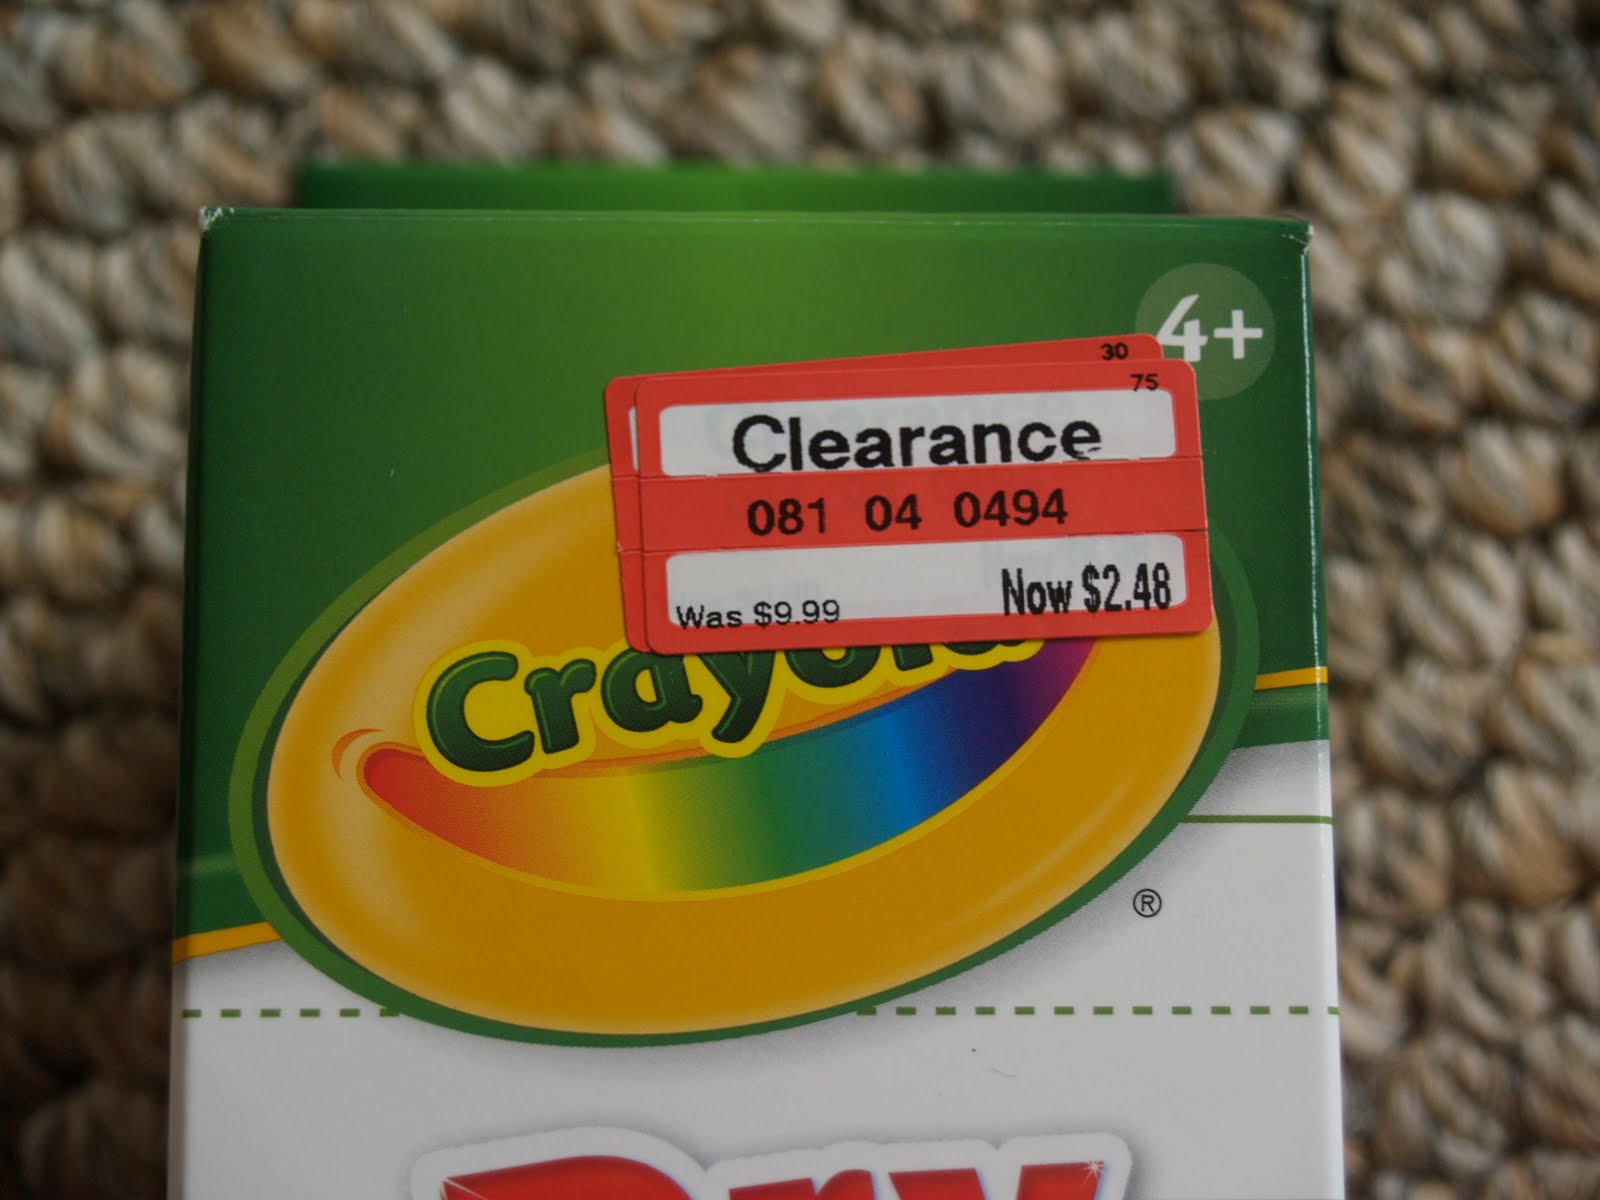
I saw the neatest thing at Target today in the school clearance aisle - Crayola Dry Erase poster!


There are a couple of things that I liked about this:
* you can stick it anywhere, remove it and stick it someplace else
* it's dry erase with crayons, so no stinky smell of dry erase markers
* it has writing lines on it to help with letter practice
* it's big - 17" x 24"
* it was only $2.48


I thought this would be a great way for my daughter to practice writing her name and her letters & numbers.  It would also be helpful for my son when he's practicing his sight words (spelling and writing sentences) and doing math sentences.  It really has so many possibilities, and for the small price tag you can't go wrong!  I got two - one for the kids' work table and one to put on the wall.

Sunday, September 12, 2010

Twine Vase

Sorry for the delay in craftiness!  With school starting, we've been working on getting back into our routines.  Then, the dreaded head cold hit our house, and we're still recovering.  But, now I'm back and ready to share a few fun crafts with you!

With Fall right around the corner, I'm eager to start pulling out my fall decorations and taking the time to create a few new ones.  I have a really pretty, but simple collection of fall foilage I like to display in a vase.  I have a bunch of plain glass vases to use, but was trying to think of a way to pretty them up a bit.

Then I came across a roll of twine in our junk drawer. We used to use it to tie up our newspaper for recycling, but it's just been sitting in the drawer unused. I can put it to good use! Plain vase + twine = pretty vase!


To get started, I cleaned and dried my vase and used a piece of large cardboard as my work surface.  I decided the easiest way to adhere the twine to the vase was with my glue gun.  My glue gun has two settings, and because I was working with glass I chose the lower setting.

I started at the bottom of the vase, gluing the twine around the surface.  I used the glue to cover continuously for the first 2-3 layers just to be sure things stayed in place.


After I got the first few layers complete I continued to wrap the twine around the vase, but now gluing every 2 inches or so.  At the end, I used a larger twine (sissal) to accent the top and bottom of the vase.  This was a very tedious task, taking me two days to complete.  I burned my fingers plenty of times too, but I got just the look I was going for.


I love the rustic look to the vase!  Not only will it work perfectly for Fall, but it will definitely blend in to our country-style home.


Sharing this fun fall project at some awesome craft blogs:

Wednesday, September 8, 2010

ABC Cards - Who Won?

It's time to find out the winner of the ABC sandpaper cards! 
I assigned each comment a number as follows:

mommy2fivekidz, 1 & 2
Christina, 3 & 4
Christie, 5 & 6
Cheryl888, 7 & 8
Caroline Sugarman, 9 & 10
Meghan R., 11 & 12
Melinda, 13 & 14
our.life.with.twins, 15 & 16
SolDucky, 17 & 18
welcome to our wonderland, 19 & 20

And used random.org to pick our winner (this is the second drawing, since the first winner did not contact me).
 
 
And the winner is...
SolDucky!
 
 
Congratulations!  Please contact me at themuddyprincess@gmail.com with your name and mailing address so I can get the cards to you as soon as possible for your little one to try!

Winners have 7 days to contact me with their information for mailing out the prize.  If I do not hear from you, I will redo the drawing to choose a new winner.  Thanks!

Tuesday, August 31, 2010

My First Giveaway!

***This giveaway is now closed!***


We did it!  100 FB friends (and counting) like The Muddy Princess!  So, now it's time for a giveaway!

When you have a toddler or a preschooler, sensory plays a big part in their learning.  That's why I decided to make sandpaper ABC cards.  Children can feel the shape of the letter as they use their fingers to trace around the sandpaper.  Tactile learning is so important at this age.

Besides aiding children in learning the letter shapes, sandpaper ABC cards can also be used for spelling simple words and alphabetizing.  You could even use them to practice sound and letter matching by laying out a few cards and having your child go on a letter hunt to find objects in your home to match the letter.

One lucky person will win a set of sandpaper ABC cards for their child. The set includes 26 cards mounted on cardstock, for each letter of the alphabet (uppercase).  The set comes complete with a storage bag (pic coming soon).


Now the rules!

* You are eligible for two entries.

* For your first entry, "like" The Muddy Princess on FB,
then leave a comment on this post stating you are a FB fan.

* For your second entry, become a follower of The Muddy Princess blog
(just click on the "Follow" button on the right),
then leave a separate second comment on this post stating you are a follower.

* Entry for the giveaway ends one week from today,
Tuesday, September 7, 2010 at 3:00 pm EST.

* All entries must be posted here on The Muddy Princess blog.

* Winner will be announced here on the blog and on TMP FB page.

Saturday, August 28, 2010

Facebook Giveaway!

I can't believe I'm closing in on 100 friends to like The Muddy Princess on Facebook!  Thank you so much to everyone for your support as I begin my blogging journey.

I decided that when we reach 100, I'll host my first giveaway.  This prize is handmade by me and perfect for back to school.  And I can't wait to share it with you!

So be sure to tell your friends about The Muddy Princess FB page and have them "like" it today!

Friday, August 27, 2010

How to Make a Reading Buddy

My son is heading to first grade this year.  We met his teacher the other night, and found out that she absolutely loves reading.  I was thinking of a small gift he could take to school to give to his teacher and each of his classmates and the "reading buddy" came to mind.


When I taught kindergarten, I saw this idea to make a cute little reading stick out of a large craft stick and a wiggly eye.  I called them our "reading buddy."  The kids loved them and took to them immediately.  It gave their busy hands something to do and really helped them keep track while they were reading.  When I moved up to first grade, I remember them being really helpful, especially in the beginning of the year, when tracking was still helpful to some students.

To make these, you need a large craft stick (they look like tongue depressors), a large wiggly eye and some glue.  You just glue the wiggly eye to the stick and you have a "reading buddy."  The kids use the eye to point to the words as they read.

I made up enough of these for the friends in his class and added a little school tag saying, "This Reading Buddy is for you.  Happy Reading!  Your Friend, Kaden."  You could use the plain wooden craft sticks or the colored ones.  And I got the cute apple tag HERE.


I also decided to make up an extra batch for his teacher so she could keep them in her classroom to use.  I made this simple drawstring bag for her to keep them in.


Even if your child is not reading yet, the "reading buddy" can still be helpful while reading to your child.  They can use it to point to simple words that they know as well as identify letters in words.


I shared this craft on the following blogs:


Chic on a Shoestring Decorating

Tuesday, August 24, 2010

A Teacher Can Make the World of Difference

My son heads back to school next week, and he has been feeling a bit apprehensive about first grade.  There's a desk, and a pencil box and homework!  Once he gets rolling though, everything falls into place and he does just great.

It was such a surprise this morning to read an email from his kindergarten teacher from last year.  She sent this email to all of her students from last year with a kind and loving little pep talk:

Dear boys and girls,

Wow, Summer is almost over and you'll be coming back to school with all sorts of new supplies, new feelings, new clothes and bookbags. It is so exciting for all of you. Try not to be nervous, even though I know you will feel a little funny in your bellies. It is OKAY and normal to feel that way. Remember way back when you came to kindergarten and you felt a little nervous at the beginning, and then you had a blast and made lots of friends once you got used to it. The same fun will happen again this year in first grade. Your teachers are fixing up their classrooms, and this year the room will be airconditioned. The teachers in first grade are lovely ladies and can't wait to meet you. You are all smartie-pants and those teachers will not ask you to do anything you can't do, and if you can't do it, they will teach you. You get homework this year...YAHOO!  I will see you in the 'halls of learning'. I am just like Mrs. Bindergarten getting ready for a new class of kindergarten. I will see you in school and I will smile at you whenever I see you. I might be busy showing the new little guys how to behave and learn, but just know that you always have a place in my heart. Take care of yourselves, and remember to raise your hand if you think you have an idea.

Love,
Mrs. Soper

My son has heard all of this from me for the past week or two, but it meant the world to him to hear it from her.  She is the kind of teacher that makes a difference in the life of a child.  She is the kind of teacher who makes her mark in a child's love of learning.  And for all of your love, kindness and support, we thank you so much Mrs. Soper!  Hope you have a fantastic year teaching a new group of lucky kindergarteners!

Monday, August 23, 2010

Color Words Practice

I made this really simple matching game with just a few index cards and some colored cardstock.  Your child matches the colored square to the card with the correct color word. 


Using this with my elementary aged son, we used it as is, so he could practice recognizing them as sight words.  With a younger child, you can easily adapt this activity by writing the color word in its color (write blue in blue).  This would make it easier to make a match, but would still allow the child to become familiar with the word.

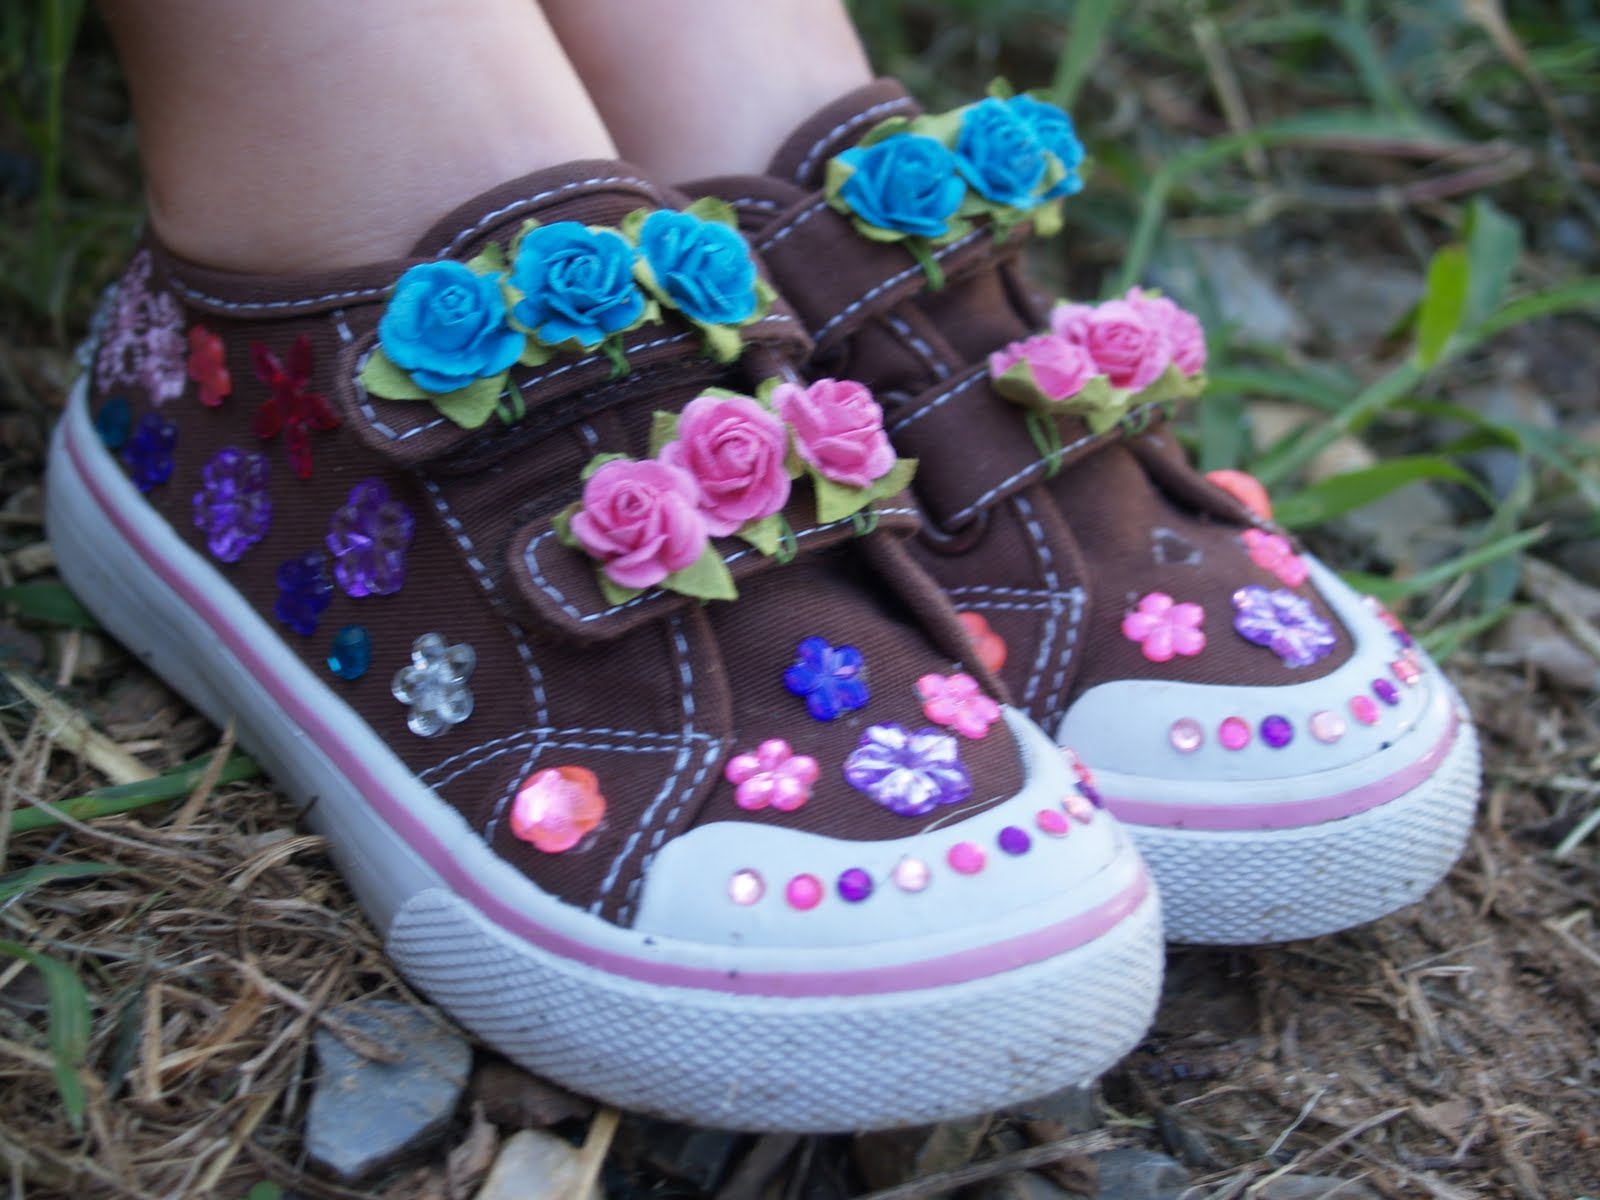
Pretty Canvas Shoes

Have you seen those commercials for Lelli Kelly shoes?  My daughter became fascinated with them when a certain kids channel started playing that awful commercial every 10 minutes.  So, out of curiosity, I looked them up online and nearly had a heart attack - those cute, sparkly, bedazzled shoes cost $70 or more!

I love my daughter, and those shoes do look really cute, but there is NO WAY I'm going to spend $70 on a pair of shoes for my 4 year old.  I don't buy myself $70 shoes.  So, I set off to craft some up myself!

I purchased a pair of plain canvas tennis shoes from Target.  I'm pretty sure I got them on sale for less than $10.


Then, I picked up some pretty sequins and small flowers to pretty up the shoes, creating our own, much less expensive version of Lelli Kellys. 

I tried a variety of adhesives to attach the sequins to the shoes, including a glue gun, Super Glue and household cement.  The glue gun didn't have a prayer - the sequins easily popped off, especially when bending the shoe to put it on.  The Super Glue worked well for adhering small sequins to the rubber toe of the shoe, but the sequins did the same popping off thing when adhered to the canvas part of the shoe with the Super Glue.  The household cement seemed to be working well.  Nothing popped off when putting the shoe on, but bumping into things (like climbing into the car seat) did cause us to lose a few sequins. 

My last attempt for today is E6000.  It's an industrial strength adhesive that is supposed to work great for just this type of application.  I'm letting things set up and we'll give the shoes a try outside later today, but I'm hoping this adhesive works a bit better.  I'll be sure to stop back with an update.

Although this project isn't officially finished, since I need to keep the sequins adhered, I still wanted to share the finished product.  I think they turned out really well and look so darn cute!  And, I'm happy to say, I spent a whopping $15 for these cuties!  The shoes were $8, large sequins $2.99, small sequins $1.99, and flowers $1.99.


These are such a big hit, I'm sharing them on the following blogs!


Simpsonized Craftsmmm button


MakingSumo Sweet Stuff


Photobucket


All Thingz Related
 giveawaysHookingupwithHoH