CLICK HERE FOR FREE BLOGGER TEMPLATES, LINK BUTTONS AND MORE! »
Showing posts with label literacy. Show all posts

Saturday, October 30, 2010

Draw a Rhyme Story

I used to use draw-a-rhyme stories when I taught.  They help the kids to practice reading and rhyming, are interactive, and a lot of fun!

This draw-a-rhyme story is from the book, Phonemic Awareness by Creative Teaching Press.  And this story about a monster would be perfect to share for Halloween!

For this story, you draw a picture together by reading the story and filling in the missing rhyming words (those that are underlined).  The missing words will let you know what to draw next.


When you draw a monster, it is said,
you always begin with his head.

He'll be able to see when he flies,
if we draw two bright eyes.

To tell which way the cold wind blows,
our monster will need a great big nose.

Look to the north and look to the south,
now we can give our monster a mouth.

Some up above and some beneath,
our monster has a lot of teeth.

Now, under his chin, let's just check,
that's where we should put his neck.

So he won't be tipsy-toddy,
let's give him a polka-dot body.

If he really, really begs,
I guess we could give him legs.

To make our monster nice and neat,
we'll have to teach him to wipe his feet.

A notice sent by air mail!
We can't forget the monster's tail.

He isn't fierce, he isn't hairy,
but don't you think he's a little scary?


We did this tonight and these are my kids' monster creations:

Tuesday, September 21, 2010

Chicka Chicka Boom Boom Letter Activity

One of my daughter's favorite books is Chicka Chicka Boom Boom.  And this book worked perfectly today for our letter review.


At my daughter's preschool they will soon be starting their letter of the week, so I wanted to do a quick and fun letter review with her to get her ready.  We pulled out our copy of the book and some sticky foam letters. 


We pulled out one of each letter and as we read the story I had her match up the uppercase letter stickers to the lowercase letters in the book (we just sat them on the page, we did not stick them).  She did really well with this!


After we finished reading, she created her own Chicka Chicka Boom Boom tree using the letter stickers.  I would have her identify a certain letter, then she added it to the tree.


And of course, we couldn't read Chicka Chicka Boom Boom without watching it too!  Last Christmas we bought the Scholastic Video Collection and it was the best money I ever spent.  The DVD with Chicka Chicka Boom Boom is a favorite!

Friday, September 17, 2010

Book Organizer

My kids go through a lot of cereal, so a lot of cereal boxes go right into the recycling bins.  But not this week!  I decided to use a few to create book holders for the books my kids read.

My son has to read every night for homework so we have lots of easy readers laying around.  My daughter is beginning to show interest in reading, so we have a lot of phonics readers and handmade books around.  Unfortunately, the basket I was planning on using to hold the books hasn't quite been working.


So I took a few cereal boxes and cut them diagonally like a magazine holder.


Then using a combination of spray adhesive and tape, I attached some leftover wrapping paper to each one to make them look cool for the kiddos.


And added labels so the kids could easily find their books.


This was a quick and easy way to organize our books and didn't cost me a thing!

Thursday, September 16, 2010

Crayola Dry Erase Poster

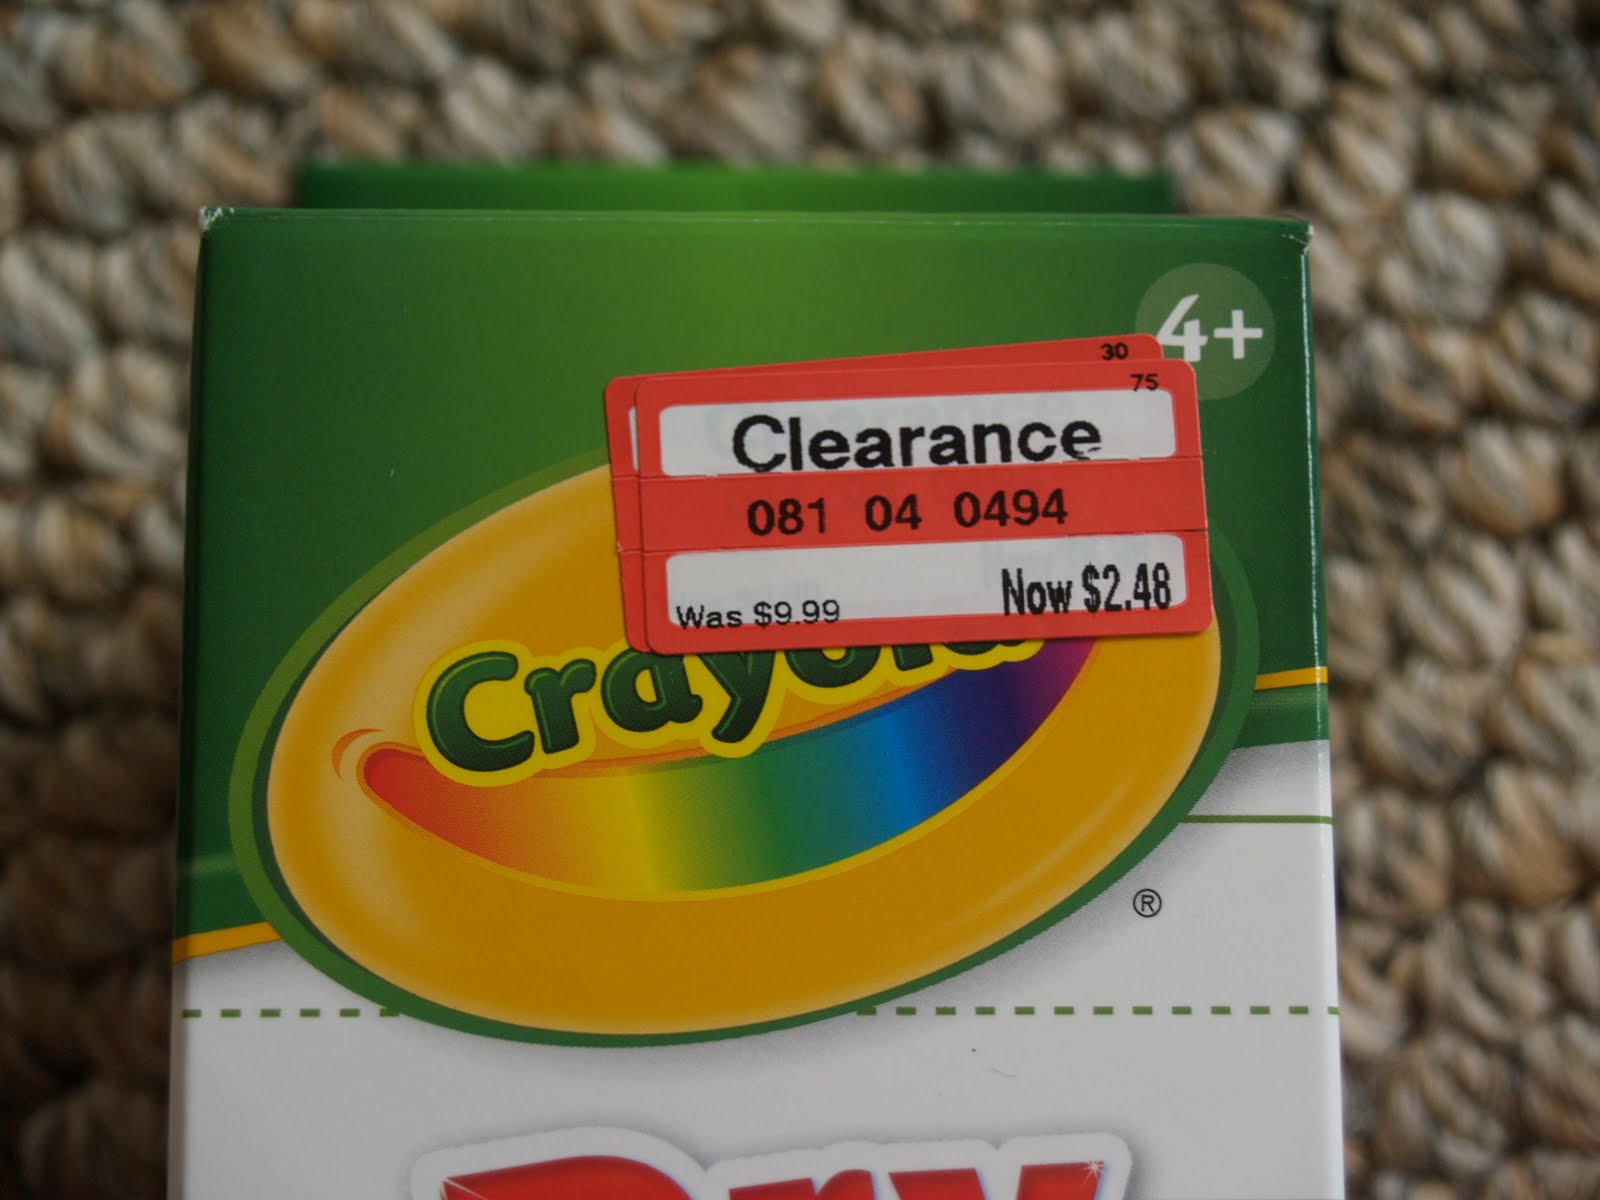
I saw the neatest thing at Target today in the school clearance aisle - Crayola Dry Erase poster!


There are a couple of things that I liked about this:
* you can stick it anywhere, remove it and stick it someplace else
* it's dry erase with crayons, so no stinky smell of dry erase markers
* it has writing lines on it to help with letter practice
* it's big - 17" x 24"
* it was only $2.48


I thought this would be a great way for my daughter to practice writing her name and her letters & numbers.  It would also be helpful for my son when he's practicing his sight words (spelling and writing sentences) and doing math sentences.  It really has so many possibilities, and for the small price tag you can't go wrong!  I got two - one for the kids' work table and one to put on the wall.

Friday, August 27, 2010

How to Make a Reading Buddy

My son is heading to first grade this year.  We met his teacher the other night, and found out that she absolutely loves reading.  I was thinking of a small gift he could take to school to give to his teacher and each of his classmates and the "reading buddy" came to mind.


When I taught kindergarten, I saw this idea to make a cute little reading stick out of a large craft stick and a wiggly eye.  I called them our "reading buddy."  The kids loved them and took to them immediately.  It gave their busy hands something to do and really helped them keep track while they were reading.  When I moved up to first grade, I remember them being really helpful, especially in the beginning of the year, when tracking was still helpful to some students.

To make these, you need a large craft stick (they look like tongue depressors), a large wiggly eye and some glue.  You just glue the wiggly eye to the stick and you have a "reading buddy."  The kids use the eye to point to the words as they read.

I made up enough of these for the friends in his class and added a little school tag saying, "This Reading Buddy is for you.  Happy Reading!  Your Friend, Kaden."  You could use the plain wooden craft sticks or the colored ones.  And I got the cute apple tag HERE.


I also decided to make up an extra batch for his teacher so she could keep them in her classroom to use.  I made this simple drawstring bag for her to keep them in.


Even if your child is not reading yet, the "reading buddy" can still be helpful while reading to your child.  They can use it to point to simple words that they know as well as identify letters in words.


I shared this craft on the following blogs:


Chic on a Shoestring Decorating

Monday, August 23, 2010

Color Words Practice

I made this really simple matching game with just a few index cards and some colored cardstock.  Your child matches the colored square to the card with the correct color word. 


Using this with my elementary aged son, we used it as is, so he could practice recognizing them as sight words.  With a younger child, you can easily adapt this activity by writing the color word in its color (write blue in blue).  This would make it easier to make a match, but would still allow the child to become familiar with the word.

Monday, July 19, 2010

Scrapbooking ABC Tiles

Yesterday, I had the chance to actually work on some scrapbooking and I am very happy to say that I completed the layouts I had been working on.  Yay!

With my living room floor covered in supplies, I came across a set of alphabet letter die cuts.  As I was punching them out, my daughter came over and started moving them around, putting them in ABC order and spelling her name.  Then I thought I could use these to make some new alphabet magnets, that both of my kids could use.

So, I finished punching out all the letters.  There is one of each uppercase letter and one of each lowercase letter with a few extra vowels and common consonants.  They are on the small side, but that can be helpful for strengthening fine motor skills.


Next, I laminated them for durability.  I was raiding DH's home office space one day looking for something and came across these self adhesive laminating sheets he had.  They are awesome!  I think contact paper would work just as well.

After cutting out all the letters, I cut small pieces of adhesive magnetic strip to put on the back of each letter.  And they were ready to go on the refrigerator!


Both kids love these and were fighting over them already this morning.  I feel they will be great for Keira who is learning her alphabet, letter sounds and building words.  She practiced this morning matching upper and lower case letters and spelling her name.


For Kaden, they will be helpful in practicing spelling new words and continuing to work on more advance letter sounds like blends and vowel combinations.  He used the letters to spell a few words for me.


I also utilized some paper scraps I had.  This paper was like a grid with these one inch squares all over it.  I thought these would be handy if I created strips of different lengths.  We could use them to practice spelling short 2, 3 and 4 letter words.  These also come in handy when creating word families too.