CLICK HERE FOR FREE BLOGGER TEMPLATES, LINK BUTTONS AND MORE! »
Showing posts with label kid crafts. Show all posts

Wednesday, August 3, 2011

Sticker I Spy

My kids have TONS of stickers!  They love getting them, but for some reason they don't like using them, so we have an entire shoe box tote full of stickers.  So, I thought I'd put some of these stickers to good use and made I Spy Sticker pages.

They were really simple to put together.  I took a piece of cardstock and covered it in stickers.  I used a few big ones, filled in a majority of the space with small to medium sized stickers, then filled in the small spots with those really tiny sticker chart stickers.  There are easily over 100 stickers on the page. 


I slipped the cardstock into a page protector.  I printed a page that had a list of all the stickers that were on the page and slipped it in the page protector behind the sticker page.  This would be a great little game to keep in the car.  The older kids can read their list on the back to find things on their own.  Or the kids can look at each other's sticker page and tell the other what to find.


What do you spy on our sticker pages?

Sharing at...

Wednesday, February 2, 2011

Groundhog Puppet

Happy Groundhog Day everyone!  Although we enjoy the Winter season and playing in the snow, we were very excited to hear that Punxsutawney Phil did NOT see his shadow today, which means Spring is on its way!  In honor of our little furry friend, we made a groundhog puppet today with some simple supplies.

First we glued some scrap felt to a large craft stick.

Next, we added some googly eyes, a pom pom nose and some ears.

 
Then, we glued some green scrap felt around a toilet paper tube.  Be sure your scrap is long enough to have it hang over on one end.
 
Using scissors, cut a fringe on the overhanging felt to look like grass.


We also added some foam flower stickers (to remind us of Spring).  Then our little groundhog came peeking out of his hole.  My 4 year old daughter did this craft completely on her own, but younger kids could have fun with this too, with a little help.


Wednesday, January 26, 2011

Salt Designs

I saw this idea in the November 2010 issue of Family Fun magazine and knew this would be an activity my kids would love to try.  Not only is it a cool art craft, but a fun way to explore science as well.  For this activity you will need a piece of cardstock, glue, salt, colored water (use food coloring), and eyedroppers.

I started by having the kids draw their design on the paper with a pencil.
 

Then, we used the glue to outline their design.

Next, the kids sprinkled salt on their paper to cover the glue.  Be sure to tap off the excess salt.

Then, the kids used the eyedroppers to drop the colored water onto their design (one drop at a time).  It was neat to see the salt absorb the liquid and send the color down the line.  We also got to see colors mix when lines intersected.


Here are our finished designs.


Chalk Drawings

I am actually so happy to be stuck inside on a real snow day!  Last year, Maryland got clobbered by Snowmageddon, but so far this year we've dodge all those big storms to hit the northeast.  But today, we are actually getting a nice amount of snow.

So, I thought today would be the perfect time to pull out some of my winter and snow crafts to share with you.  Be on the lookout, because I'll probably be posting a few activities today and tomorrow.

This activity is one of my favorites and so easy to do.  To make a chalk drawing, all you need is some chalk and dark colored paper.  Tell the kids to draw a snow scene using the chalk.  White is great for the snow, but colored chalk works great as well, especially for adding details.


Saturday, January 15, 2011

Cheer Sticks

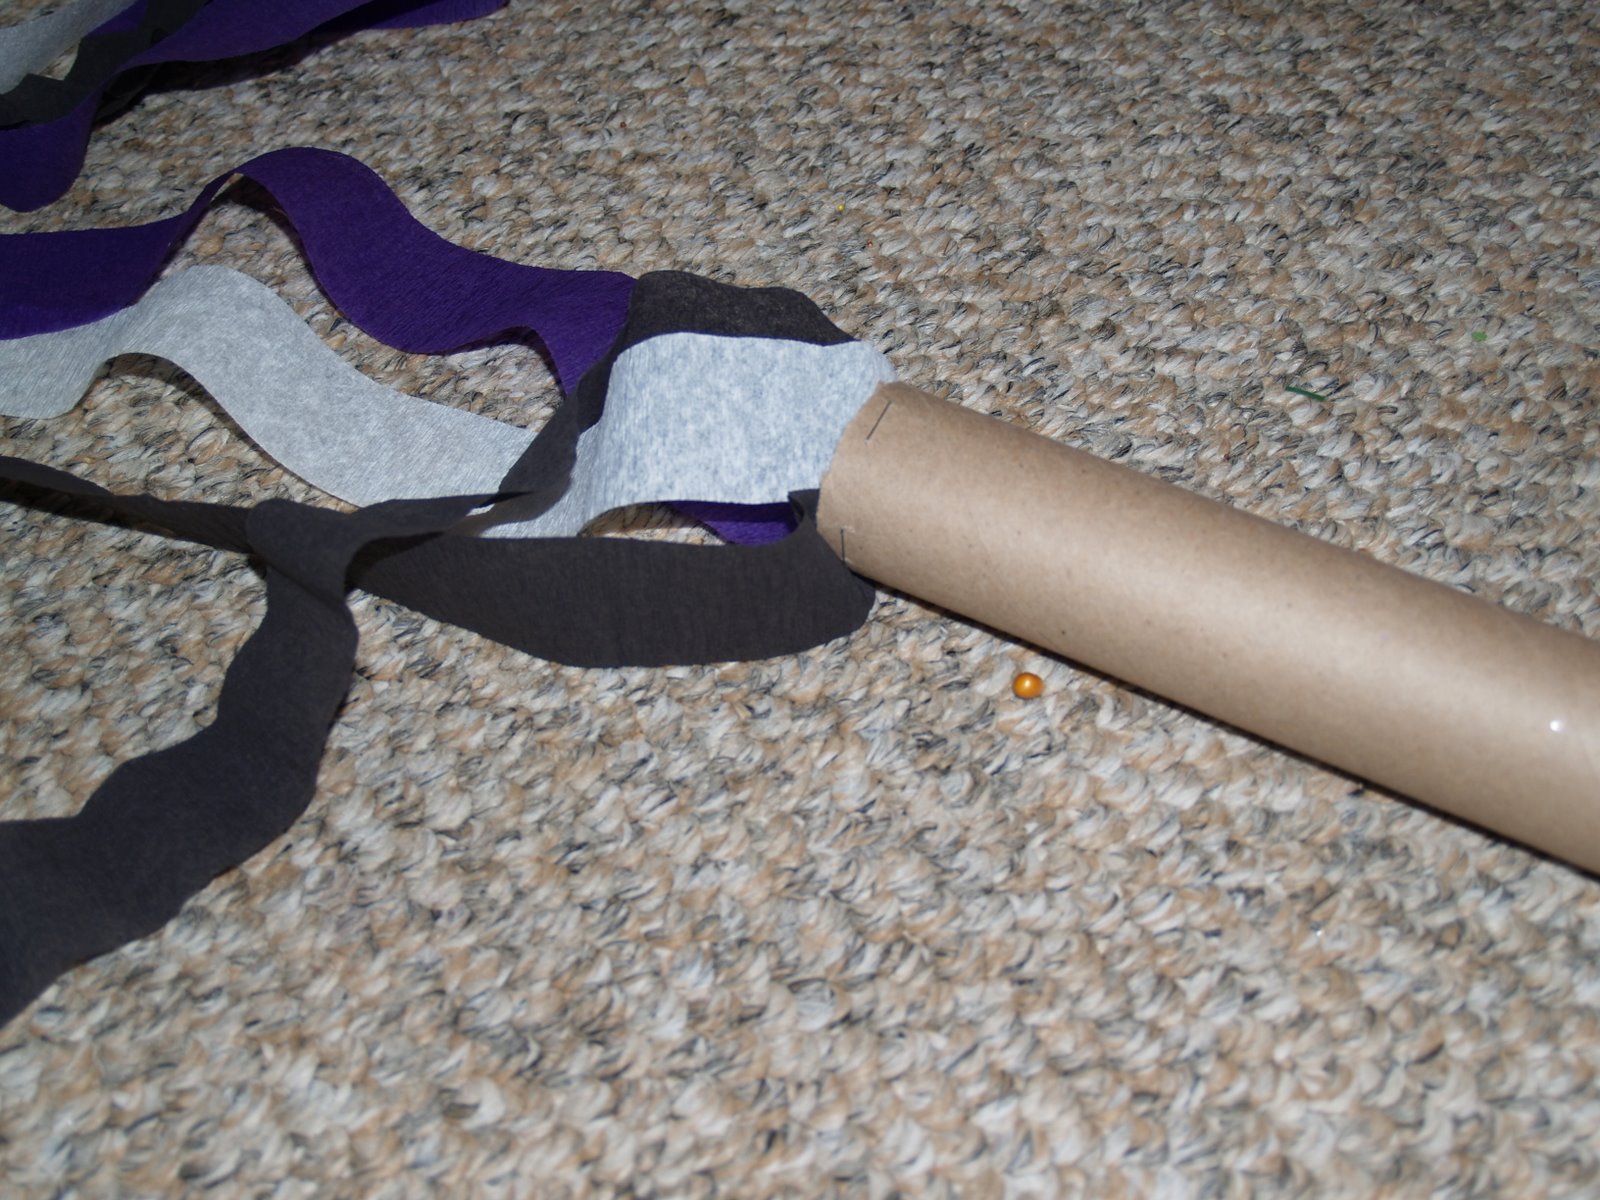
We are cheering on our hometown team, the Ravens, in the playoffs.  To help the kids cheer them on, we made some cheer sticks using some empty paper towel tubes and leftover party streamers.
 

We cut some strips and stapled them inside the ends of each tube.


Next, we applied some Mod Podge along the outside of the tube and
wrapped the party streamer around the tube.
Fun and simple!  Now it's time to cheer on the team!