
Showing posts with label sewing. Show all posts
Showing posts with label sewing. Show all posts
Wednesday, November 30, 2011
Handprint Quilt
I just wanted to pop in to share a special gift I made with the help of some fantastic students and a few helping hands of fellow moms. This handprint quilt was my first quilt and I think it turned out rather well! A special thank you to Kristen who posted THIS awesome, and very easy to follow tutorial on her blog!


Saturday, May 7, 2011
Fabric Organization
For a while now, I've had my fabric organized by color in piles. Piles of folded fabric, that eventually started falling over once the pile got too big. Piles of fabric falling over, off the shelf, onto the floor and making a mess that made it impossible to easily find what I needed for a project.
But, then it dawned on me to create my own fabric bolts, just like in the store. This would allow me to more easily see all of my fabric at a glance and have easier access to my fabric as well. I would no longer need to move an entire pile just to pull out the piece of fabric all the way at the bottom of the pile.
Since we had yet to take out our recycling I set to work cutting up every piece of cardboard we had. Using a utility knife I cut the cardboard into approximately 6"x10" pieces. Most of my fabric would easily wrap around this size when folded over and would fit in the new location. I used straight pins to keep the fabric on the bolt and stacked similar colors in plastic baskets I picked up at the Dollar Store.
I do have a pile of fabric that I have a lot more of, that wouldn't fit on those smaller bolts. It's just folded and piled right now, but I think I'm going to create larger bolts for those. Here are a few pics of my newly organized stash. So far, this system is working for me. How do you organize your fabric?


Thursday, March 31, 2011
Practice Peasant/Prairie Dress
I made this dress for my daughter. I called it my practice dress because I was hoping to make something similar for her for Easter. But, I didn't want to mess up and chance wasting all the new springy fabric I had just bought, so I used some fabric I already had on hand and kind of whipped this up.
It's a combination of a peasant style top, apron prairie dress and tiered twirly skirt all put together. This dress took me about a day and a half, but that's because I didn't have a pattern and was kind of winging it. But I think it turned out looking pretty darn cute, if I do say so myself!
If I can manage to get my photos and notes in order, I just might have a tutorial to go with this too!


It's a combination of a peasant style top, apron prairie dress and tiered twirly skirt all put together. This dress took me about a day and a half, but that's because I didn't have a pattern and was kind of winging it. But I think it turned out looking pretty darn cute, if I do say so myself!
If I can manage to get my photos and notes in order, I just might have a tutorial to go with this too!

Sharing my creation at the following blogs:
Saturday, March 26, 2011
Pirate Girl Skirt
My kids love that new show on Disney Junior, Jake and the Never Land Pirates. My daughter especially loves that there is a girl pirate and has been dreaming of being a pirate for next Halloween. But, after seeing this super simple tutorial over at Filth Wizardry, I knew I would have to get her exploring now with this adorable pirate skirt!
I started with 2 bandanas, that I purchased from Joann's. I washed and air dried the bandanas, then ironed out the wrinkles. I used a large plastic lid (about 5 inches wide) to draw a circle in the center of each bandana.

Next, I cut a line from the center of one of the sides to the circle, and cut out the circle. Save those circles - you can put them to use later.

Then, I put the bandanas on top of one another right sides together, and stitched along one of the sides where I cut. When you open them back up, you can see the skirt starting to form, with one side hem stitched and the other side hem still open.

I used one of my husband's old ribbed t-shirts and cut about 6 inches from the bottom. This is going to make the waist. I cut along the shirt's side hem so I had one long piece and not a tube, and started pinning it to the top part of the skirt, right sides together. Then I ran a straight stitch.

I used the original hem from the bottom of the shirt to run my elastic through for the waist. Once the elastic was in place, I folded the bandanas back over, right sides together, and ran a straight stitch on the other open side hem all the way up through the waist.
It looks so adorable and was so easy to make! I used one of the extra circles of bandana fabric and appliqued it onto the front of a tank top. I think we will try to make some pirate swords this weekend as well. Please be sure to check out Filth Wizardry for her simple step by step tutorial, and make a pirate skirt for your own little swashbuckler!


Wednesday, March 23, 2011
Sew Along for Japan
We've all heard about the devastation in Japan. Their losses are greater than what any of us can even imagine. So, when an opportunity arises to do a little something, share our craftiness and make a difference for just one child, there is no question about participating. When I saw this post in my Facebook newsfeed today, I knew it was something I wanted to do. I've been itching to get my sewing machine back out, and what better reason than to lend a hand in helping others in need.
The sew along will take place March 28 - April 1 on the Living With Punks blog. Each day a new detailed step will be shared so you can create the friends forever shirt for a child in Japan. You can download the pattern and instructions, as well as see additional details HERE.
Are you up for the challenge? Comment here on the blog or on my Facebook page to let us know you are participating. Then check out Living With Punks for all the details and to grab a button to share this awesome initiative!

The sew along will take place March 28 - April 1 on the Living With Punks blog. Each day a new detailed step will be shared so you can create the friends forever shirt for a child in Japan. You can download the pattern and instructions, as well as see additional details HERE.
Are you up for the challenge? Comment here on the blog or on my Facebook page to let us know you are participating. Then check out Living With Punks for all the details and to grab a button to share this awesome initiative!
Tuesday, March 22, 2011
Rainbow Stitching
In the craziness I like to call life, I ran out of time to show you the neat craft I did with my son's class for St. Patrick's Day. It started with this rainbow of colorful yarn...

I originally saw this idea at Filth Wizardry to use that rubbery shelf liner as a sewing medium. What a fantastic idea! It works great for kids who are learning and practicing simple stitches. I loved how she drew pictures on the shelf liner, and used the rainbow to fit in with our St. Patrick's Day craft.
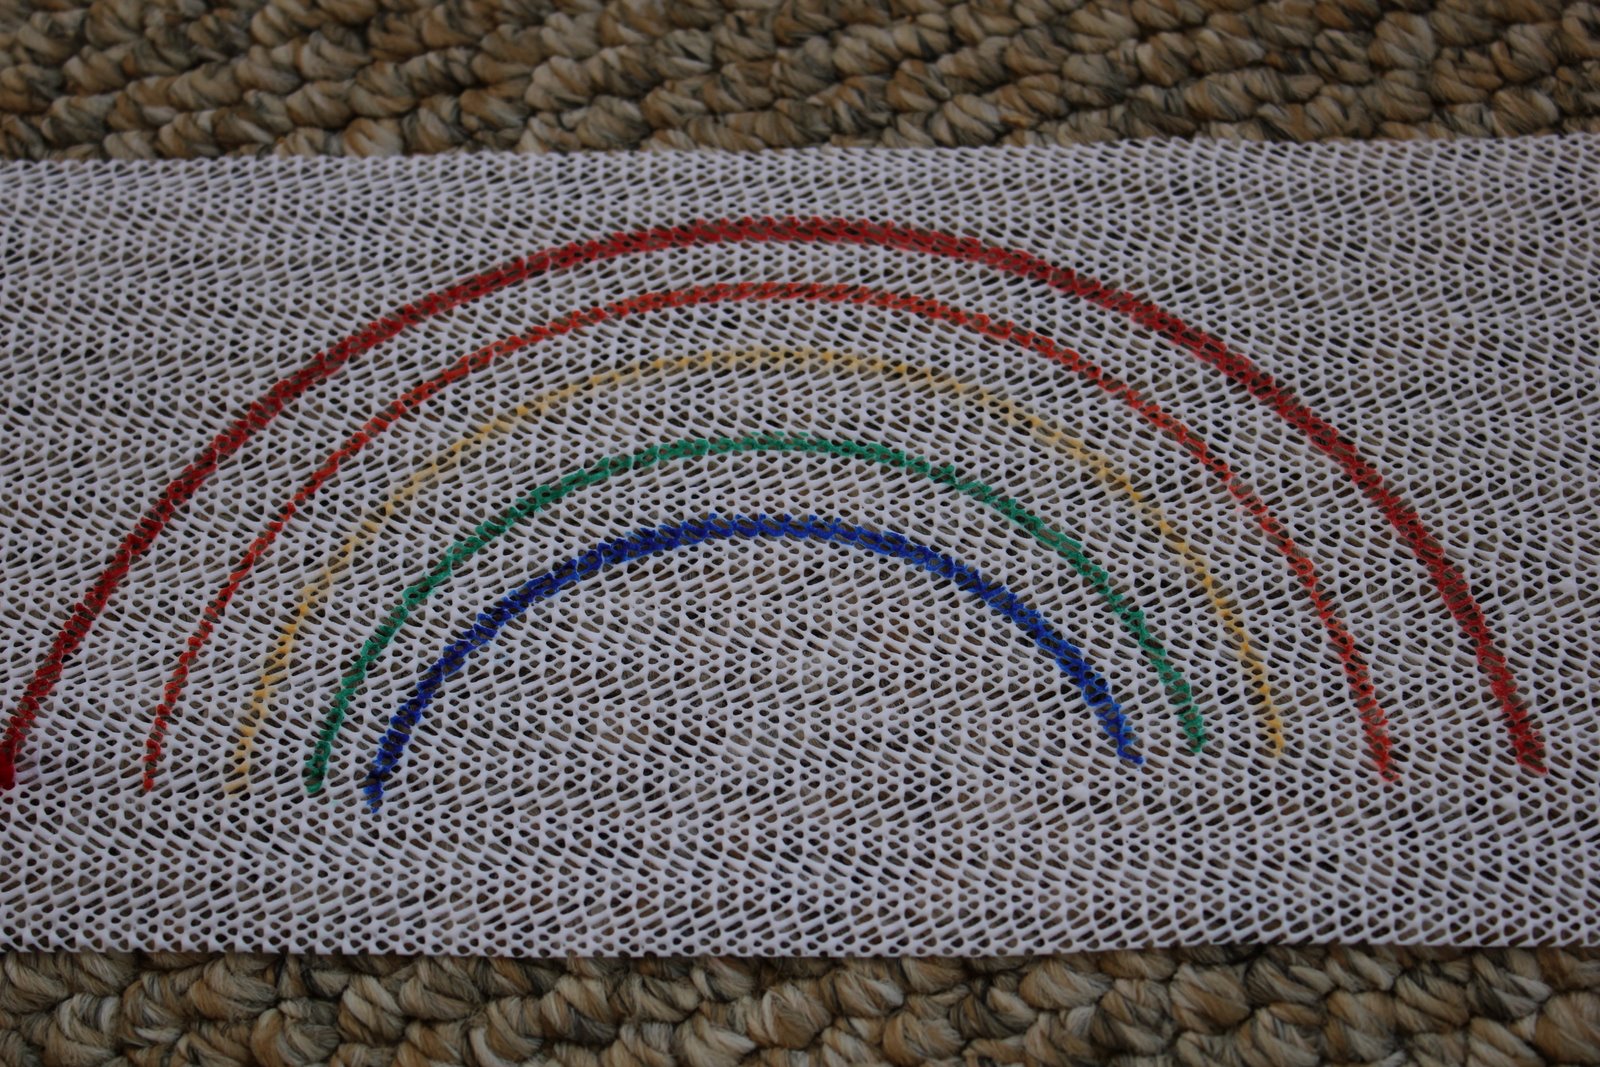
The kids all worked really hard on this - boys and girls alike! I cut out a cloud for the kids to stitch to one side of their rainbow and a pot for the other end. They each got a few Rolos to add as gold to their pots also. It ended up being a two day project but everyone was able to take home their beautiful rainbow, complete with pot of gold.
Here is my son's finished project!

Friday, January 28, 2011
Valentine Fleece Boa Scarf
I recently saw these adorable fleece boa scarves over at my friend Laura's blog, Come Together Kids. She provided a great tutorial on how to make these, so I knew I would have to give it a try. I decided to make one for Valentine's Day, in red and white. My daughter wanted to use hers for dress up play.
I started off with 3 pieces of lightweight cotton fleece, 2 red and 1 white. Each piece was 6 inches wide and 48 inches long.

I made two straight stitches down the middle of all three pieces.


Then, using my rotary cutter, I cut a one inch fringe on each side.
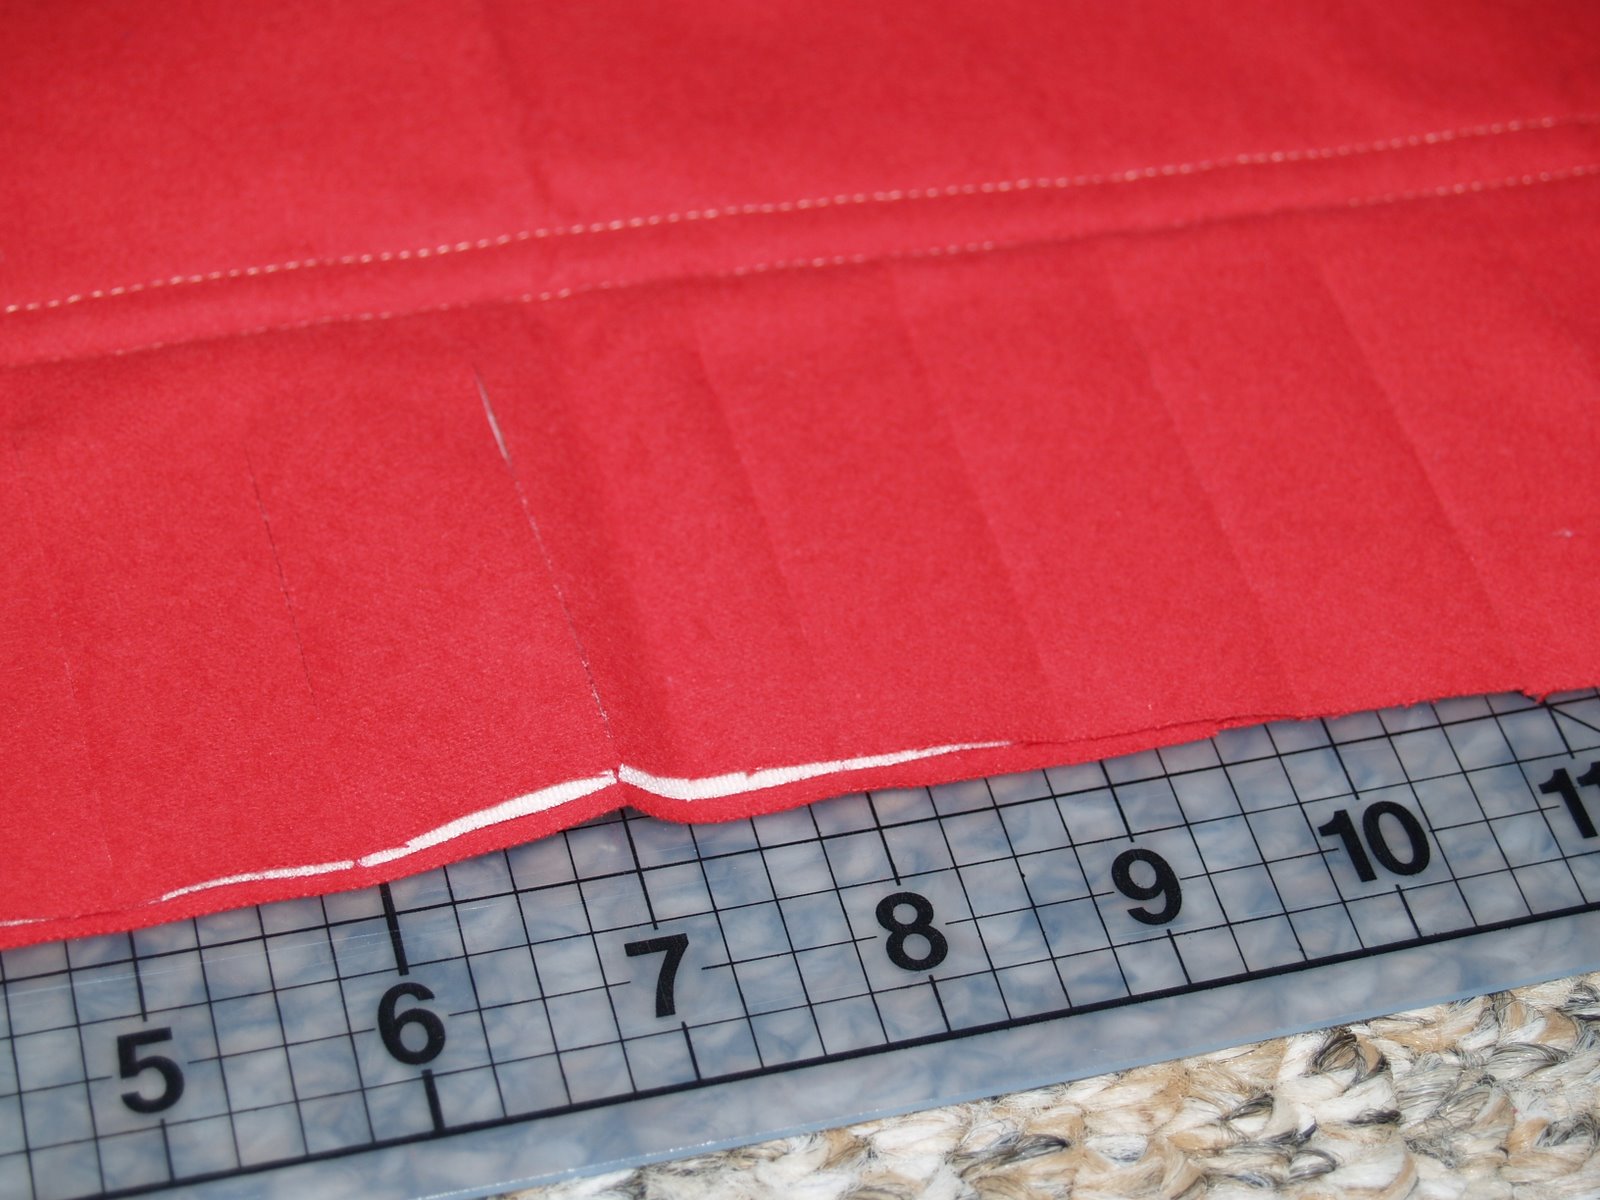
This turned out so cute and was so easy to make! Thanks again Laura for sharing your tutorial with us!

Sunday, November 14, 2010
Beanbag Chair Cover
My son loves his beanbag chair, but the cover has been tearing and now those little filling beads have started spilling out all over the place.

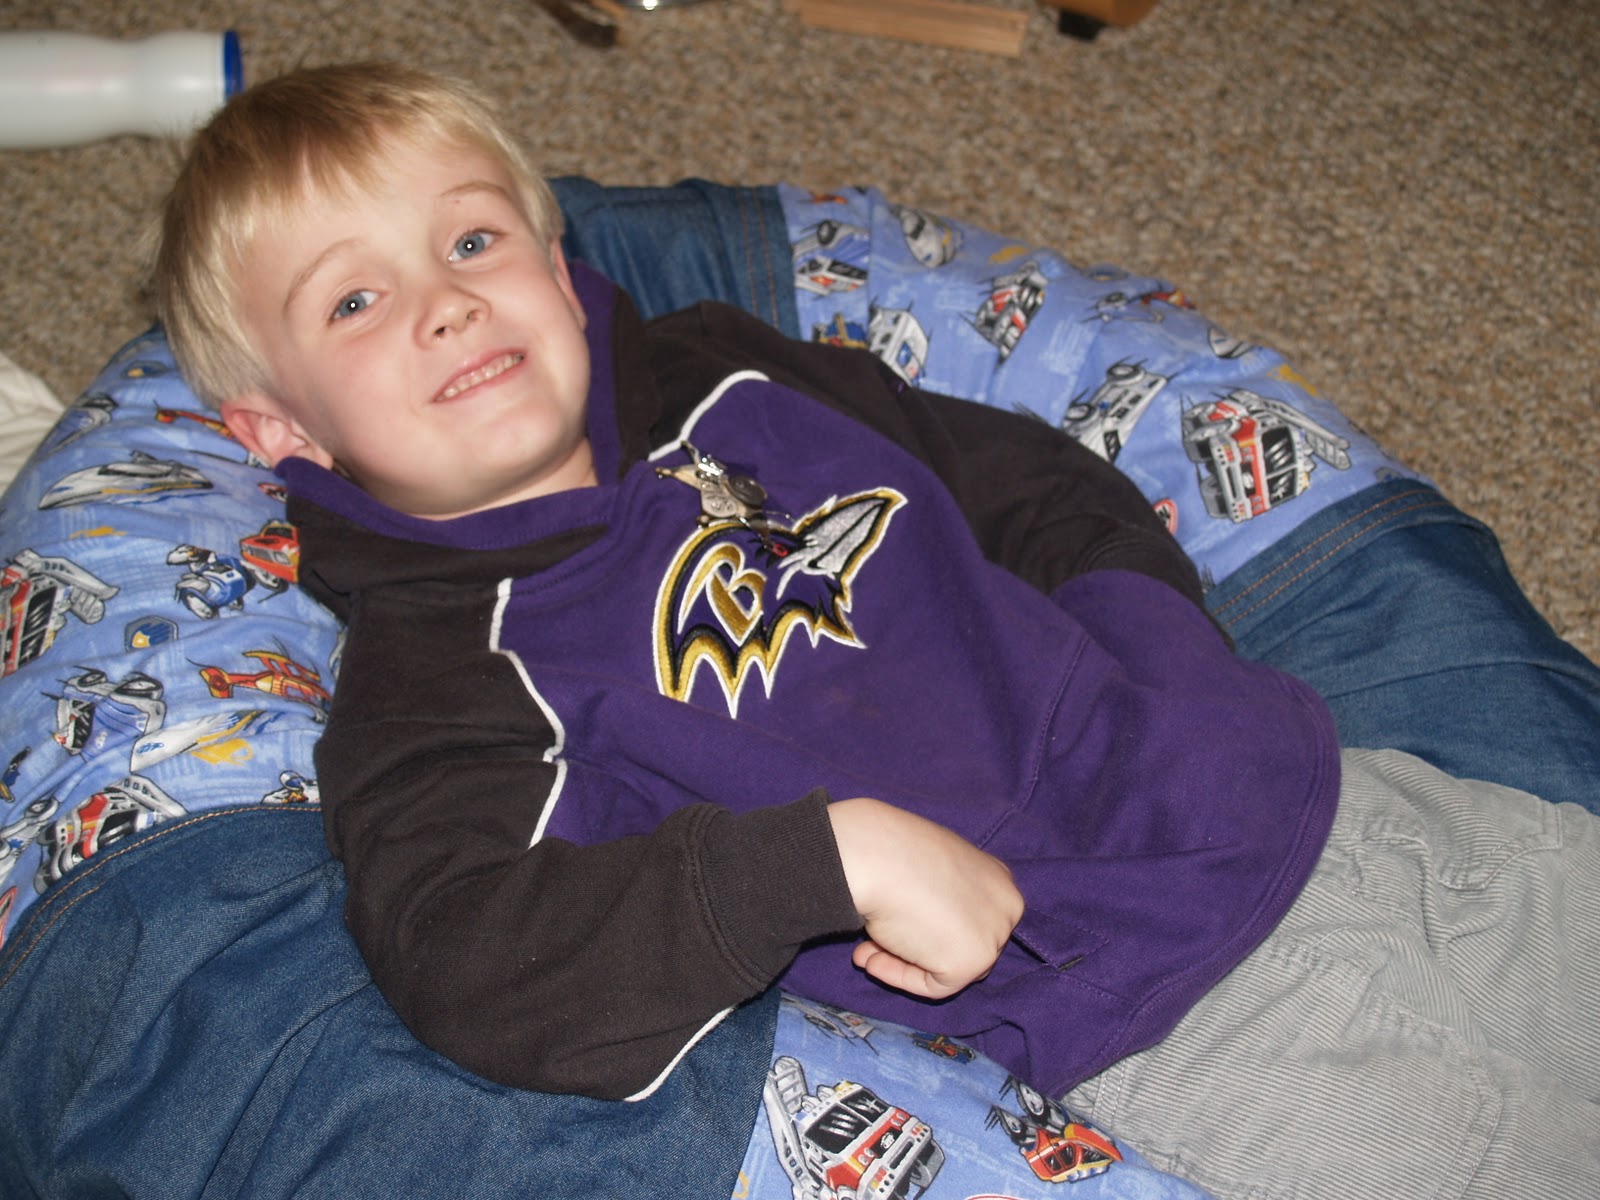
Since I had some leftover boy fabric, I decided to try my hand at making a cover. I used some cotton flannel Matchbox fabric and lightweight denim fabric (leftover from curtains I had to hem). I cut them into equal size rectangular panels, 3 of each and stitched them together.

Next, I used another piece of the denim fabric to create a circle that would connect all the panels at the top. Instead of doing another circle piece on the bottom, I created a hem and added a drawstring. This would allow for easy removal of the cover if it needed washing.


This was one of the easiest projects I've done and I'm really pleased with how it turned out. My son is happy to have his beanbag chair back.


Since I had some leftover boy fabric, I decided to try my hand at making a cover. I used some cotton flannel Matchbox fabric and lightweight denim fabric (leftover from curtains I had to hem). I cut them into equal size rectangular panels, 3 of each and stitched them together.

Next, I used another piece of the denim fabric to create a circle that would connect all the panels at the top. Instead of doing another circle piece on the bottom, I created a hem and added a drawstring. This would allow for easy removal of the cover if it needed washing.


This was one of the easiest projects I've done and I'm really pleased with how it turned out. My son is happy to have his beanbag chair back.
Tuesday, September 28, 2010
Fleece Pocket Scarf
I wanted to make my kids some scarves out of fleece. My local fabric store had their polar fleece on sale for 50% off, so it was the perfect time to stock up and get started on this project. I was also secretly hoping that by making these, the weather will take a hint and cool off. It is Fall you know!
I started off by purchasing a 1/4 yard of fleece. I chose a cute pink check for my daughter and a blue and red stripe for my son.


After trimming off the selvage, I cut 2 pieces off the bottom of each scarf to create the pockets.


After pinning them into place on each side of the scarf, I sewed them on, along each side and the bottom, leaving the top open for the pocket. Then, I folded the fleece in half lengthwise, pinned the right sides together and made a straight stitch.


I turned the scarf right side out and cut the bottom of the scarf (below the pocket) into a fringe.

These were really easy to make and turned out super cute! My kids can wear them casually around their neck and put their hands in the scarf pockets, or can wear them wrapped around their neck like a regular scarf.

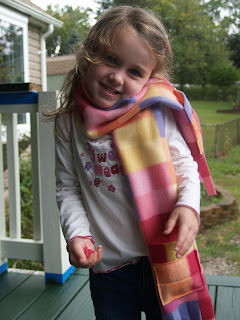
I started off by purchasing a 1/4 yard of fleece. I chose a cute pink check for my daughter and a blue and red stripe for my son.

After trimming off the selvage, I cut 2 pieces off the bottom of each scarf to create the pockets.


After pinning them into place on each side of the scarf, I sewed them on, along each side and the bottom, leaving the top open for the pocket. Then, I folded the fleece in half lengthwise, pinned the right sides together and made a straight stitch.


I turned the scarf right side out and cut the bottom of the scarf (below the pocket) into a fringe.

These were really easy to make and turned out super cute! My kids can wear them casually around their neck and put their hands in the scarf pockets, or can wear them wrapped around their neck like a regular scarf.

Sharing this fun fall craft at these blogs:
Monday, September 27, 2010
Camera Strap Cover Tutorial
With the holidays fast approaching, I will be wearing my camera a lot more. And, I was thinking about creating a strap cover to make it more comfortable. I had seen a lot of tutorials around the blogging world for making camera strap covers and they all seemed super easy! So, I set off this weekend to create one that would be comfortable and stylish. And, I have the step-by-step directions to share with you!
I wanted my cover to be two sided, one side with a cute print and the other side with a really soft fabric. These are the fabrics I chose...

I have an Olympus E-300 and it's camera strap is narrow, so I cut a 24" by 2.5" strip from each piece of fabric.

I cut a piece of lightweight fusible fleece to attach to the wrong side of the printed fabric. I cut this about a 1/4 inch smaller than the fabric. This gives the lightweight printed fabric a little more stability and also adds a small amount of cushion.

Next, I pinned the two fabric pieces together, right sides together, and stitched along the two long sides of the fabric, leaving both ends open.

After stitching, I turned the fabric tube right side out, then pressed.

I took my camera strap off on one side of my camera and slipped the cover over the strap. I wanted my cover to stay put, so I folded the raw edges under about a 1/2 inch and sewed along the edge.

I totally love how this turned out! The fabrics are so pretty, the cover fits perfectly over my strap and the minky fabric on the one side is so soft around my neck.

I wanted my cover to be two sided, one side with a cute print and the other side with a really soft fabric. These are the fabrics I chose...

I have an Olympus E-300 and it's camera strap is narrow, so I cut a 24" by 2.5" strip from each piece of fabric.

I cut a piece of lightweight fusible fleece to attach to the wrong side of the printed fabric. I cut this about a 1/4 inch smaller than the fabric. This gives the lightweight printed fabric a little more stability and also adds a small amount of cushion.

Next, I pinned the two fabric pieces together, right sides together, and stitched along the two long sides of the fabric, leaving both ends open.

After stitching, I turned the fabric tube right side out, then pressed.

I took my camera strap off on one side of my camera and slipped the cover over the strap. I wanted my cover to stay put, so I folded the raw edges under about a 1/2 inch and sewed along the edge.

I totally love how this turned out! The fabrics are so pretty, the cover fits perfectly over my strap and the minky fabric on the one side is so soft around my neck.

Subscribe to:
Posts (Atom)


