CLICK HERE FOR FREE BLOGGER TEMPLATES, LINK BUTTONS AND MORE! »

Sunday, January 30, 2011

Power Cuffs

Both of my kids love to dress up, so when I say these cool power cuffs over at 4 Crazy Kings I knew I was going to have to make these for my kids.

I used felt I already had on hand to make our power cuffs.  I started by cutting two 10 inch squares for each set of power cuffs.  The white will be for my daughter's and the black for my son's.


Next, I cut some felt in different colors that would be the fringe.  I folded each felt square in half and pinned the other felt between.


Then, I ran a straight stitch using my sewing machine to hold the pieces together, and cut the fringe.


The kids really liked these and instantly got dressed up to play super heroes.  I really liked that I had some scraps on hand to whip these up quickly.  If you don't have a sewing machine, I bet you could use hot glue to hold these together too. 


Saturday, January 29, 2011

Pretend Makeup

I saw this idea for making pretend makeup using nail polish, but never got around to trying it out until now.  It looks really pretty, but there's no mess for the little one who wants to pretend to wear makeup.  I started off with an old eye shadow case.


Next, I scraped all of the makeup out and cleaned each section.


Then, I poured some of my most colorful and sparkly nail polish into each section.  Go slowly and watch it settle before adding more.  I would give it a good 24-48 hours to dry completely, in a well ventilated area.  My daughter loves pretending to put on her new pretend makeup!


Friday, January 28, 2011

Valentine Fleece Boa Scarf

I recently saw these adorable fleece boa scarves over at my friend Laura's blog, Come Together Kids.  She provided a great tutorial on how to make these, so I knew I would have to give it a try.  I decided to make one for Valentine's Day, in red and white.  My daughter wanted to use hers for dress up play. 

I started off with 3 pieces of lightweight cotton fleece, 2 red and 1 white.  Each piece was 6 inches wide and 48 inches long. 


I made two straight stitches down the middle of all three pieces.


Then, using my rotary cutter, I cut a one inch fringe on each side.


This turned out so cute and was so easy to make!  Thanks again Laura for sharing your tutorial with us!

Wednesday, January 26, 2011

Roll a Snowman

Need another fun activity on this snowy day?  How about a game of Roll-a-Snowman?  You can get the free printable game sheet HERE.  You just need paper, pencil or crayon and a die.  Each number on the die corresponds to a part of the snowman you can draw.  The first person to finish their snowman first is the winner!  Calm, educational and non-messy fun is always good!


Salt Designs

I saw this idea in the November 2010 issue of Family Fun magazine and knew this would be an activity my kids would love to try.  Not only is it a cool art craft, but a fun way to explore science as well.  For this activity you will need a piece of cardstock, glue, salt, colored water (use food coloring), and eyedroppers.

I started by having the kids draw their design on the paper with a pencil.
 

Then, we used the glue to outline their design.

Next, the kids sprinkled salt on their paper to cover the glue.  Be sure to tap off the excess salt.

Then, the kids used the eyedroppers to drop the colored water onto their design (one drop at a time).  It was neat to see the salt absorb the liquid and send the color down the line.  We also got to see colors mix when lines intersected.


Here are our finished designs.


Chalk Drawings

I am actually so happy to be stuck inside on a real snow day!  Last year, Maryland got clobbered by Snowmageddon, but so far this year we've dodge all those big storms to hit the northeast.  But today, we are actually getting a nice amount of snow.

So, I thought today would be the perfect time to pull out some of my winter and snow crafts to share with you.  Be on the lookout, because I'll probably be posting a few activities today and tomorrow.

This activity is one of my favorites and so easy to do.  To make a chalk drawing, all you need is some chalk and dark colored paper.  Tell the kids to draw a snow scene using the chalk.  White is great for the snow, but colored chalk works great as well, especially for adding details.


Tuesday, January 25, 2011

Felt Mustaches and Lips

I've seen these cute little mustaches and lips on sticks all over bloggy-land and finally decided to make a few for the kiddos.  I used a simple template to cut out the shapes from felt, then hot glued them onto small craft sticks.


I think they turned out really cute and were so quick and easy to put together!  And my kids have loved to use these quick disguises while playing.


Aren't they so mysterious?  Who are those kids?
 

Monday, January 24, 2011

Love Plaque

I had some heart garland and mini chalkboards that I picked up from the Dollar Store.  I wanted to make a cute decoration for Valentine's Day and came up with this cute love plaque.


I started by cutting the heart garland apart, so I had individual hearts.  Using my glue gun, I glued the tiny hearts to the mini chalkboards in the shape of the letters L, O, V, and E.  I attached the mini chalkboards together with a strip of ribbon running down the back.  I added a ribbon loop at the top for hanging, and small pink roses to the mini chalkboards for a little extra decoration.  I really like how this turned out!


My 100th Post!!!


Woo Hoo - Today is my 100th post!  I was trying to figure out a special post to do today in honor of my 100th post and decided to share some of my favorites with you.  Enjoy!

My Top Ten Favorite Craft Supplies
embroidery thread
ribbon
beads
Crayola Model Magic clay
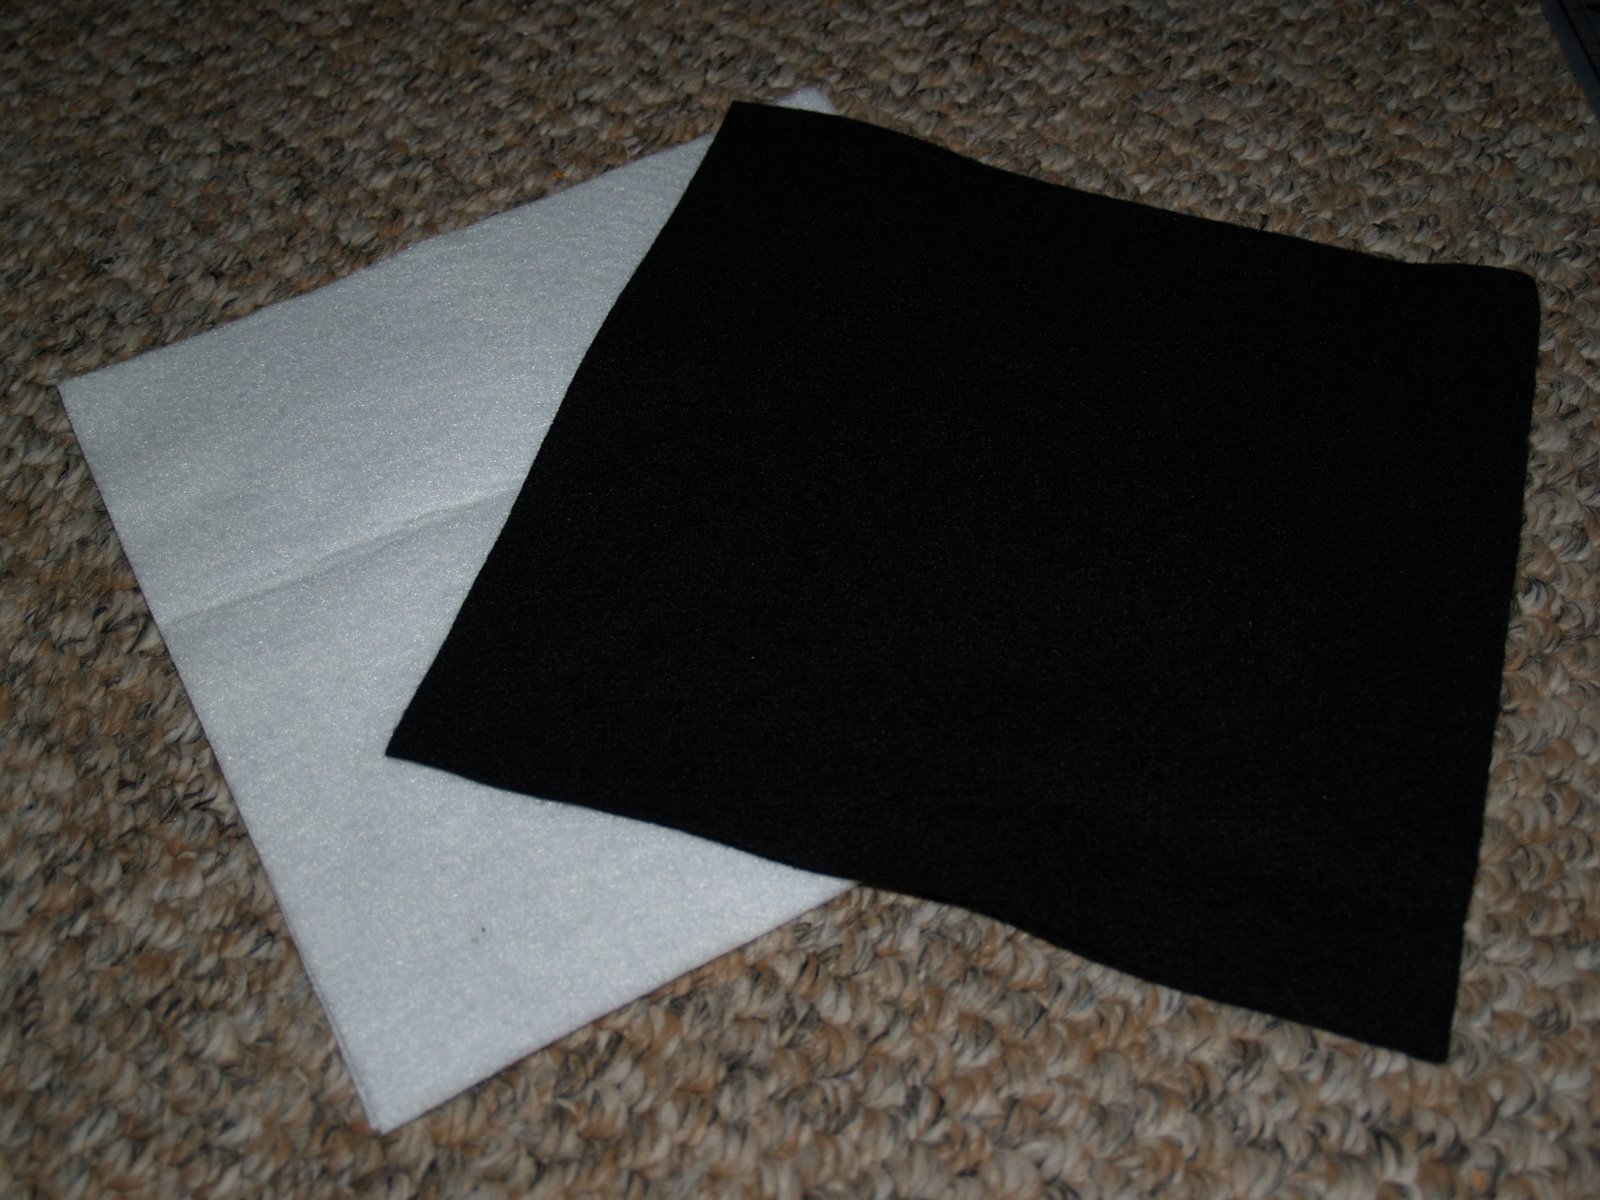
fabric
ink
glitter
felt
buttons
cardstock

My Top Ten Favorite Crafting Tools
Sewing Machine
Glue Gun
Label Maker
Paper Cutter
Rotary Cutter
Cricut
Cuttlebug
Mod Podge
See-Through Ruler
24 x 36 Rotary Mat

My Top Ten Favorite Places to Shop for Crafty Things
Michaels
Joanns
Goodwill
Church Thrift Shop
Yard Sales/Flea Markets
Target
Walmart
Home Depot/Lowes
Dollar Store
Grocery Store

My Top Ten Favorite Places to Craft
Spread out on the living room floor
Spread out on the dining room table
My craft space (aka - multi-purpose room/pantry)
On our front porch
In the minivan (while waiting to pick up kids from school)
On my bed
Poolside (in the summertime)
By the firepit (perfect on cool nights)
On the sofa
On the computer

My Top Ten Favorite Crafts I've Blogged About
Pretty Canvas Shoes
Therapy Packs
Headband Roll
Reusable Felt Gingerbread House
Halloween Pillowcase Dress
Fleece Pocket Scarves
Jumper to Apron
Twine Vase
Monogrammed Tote Bag
Fairy Birthday Party

My Top Ten Favorite Crafts For the Kids
Blow Paint Monsters
Flower Prints
Cheer Sticks
Faux Gingerbread Houses
Stained Glass Painting
Christmas Activity Chain Link
Draw a Rhyme Story
Beachy Keepsake Jar
Millions and Jillions of Bubbles
Leaf Tokens

My Top Ten Favorite Craft Books
Doodle Stitching by Aimee Ray
One Yard Wonders by Rebecca Yaker
Sew What Skirts by Francesca DenHartog
Sewing Clothes Kids Love by Nancy Langdon
Handmade Home by Amanda Blake Soule
Sewing Bits and Pieces by Sandi Henderson
Green Crafts for Children by Emma Hardy
The Handmade Marketplace by Kari Chapin
Martha Stewart's Encyclopedia of Sewing and Fabric Crafts by M. Stewart
Simple Times: Crafts for Poor People by Amy Sedaris

My Top Ten Favorite Quick Party Treats
chocolate covered pretzels
chocolate covered marshmallows
monkey munch
rice krispie treats
fruit kabobs
yogurt & granola cups
veggie pizza
pigs in a blanket
mini bagel pizzas
microwave smores

My Top Ten Favorite Recycable Items for Crafting
toilet paper/paper towel tubes
oatmeal canisters
caps/lids
jelly/pickle jars
CD cases
cardboard boxes
newspaper/magazines
soup cans
old greeting cards
egg cartons

My Top Ten Favorite Upcoming Crafts
marble run
easy science experiments
Disney shirts
bathroom sign
canister sleeves
power cuffs
fabric play food
ruffle bag
lapbooks
subway art

Thanks so much for stopping by today to help me celebrate my 100th post!  If you get the chance, take a second and leave a comment telling me what your favorite post has been here at The Muddy Princess and what you are most looking forward to seeing in the upcoming craftiness.  And, as always be sure to share TMP with your friends, because the more, the craftier!

Saturday, January 22, 2011

Heart Hair

Before I got my daughter's hair cut, it was pretty long.  And last year, she allowed me to play with her hair.  For Valentine's Day, we made these cute heart hair styles, thanks to some inspiration from The Story of a Princess and Her Hair blog.  If you haven't checked out this blog before, be sure you do.  She has so many cute hairstyles to try, with instructions!


Since we have shorter hair now, we'll have to see what cute style we can come up with this year.  Happy Valentine's Day!